This short guide will provide the steps necessary to add the (free) SendGrid mail service to a Django (or Wagtail) app.
Preface
Mail Service Provider
During development of a Django or Wagtail (now referred to just as Django) app, the email is handled by a development account or sent to the console via EMAIL_BACKEND = 'django.core.mail.backends.console.EmailBackend'. When deploying a Django app to production, a reliable and secure mail service is required.
A mail (or email) service provider simply hosts email servers to send, receive, accept, and store email for other organizations or end users (on their behalf). The following protocols are generally used: Simple Mail Transfer Protocol (SMTP) and possibly providing access to messages through Internet Message Access Protocol (IMAP), the Post Office Protocol, Webmail, or a proprietary protocol.
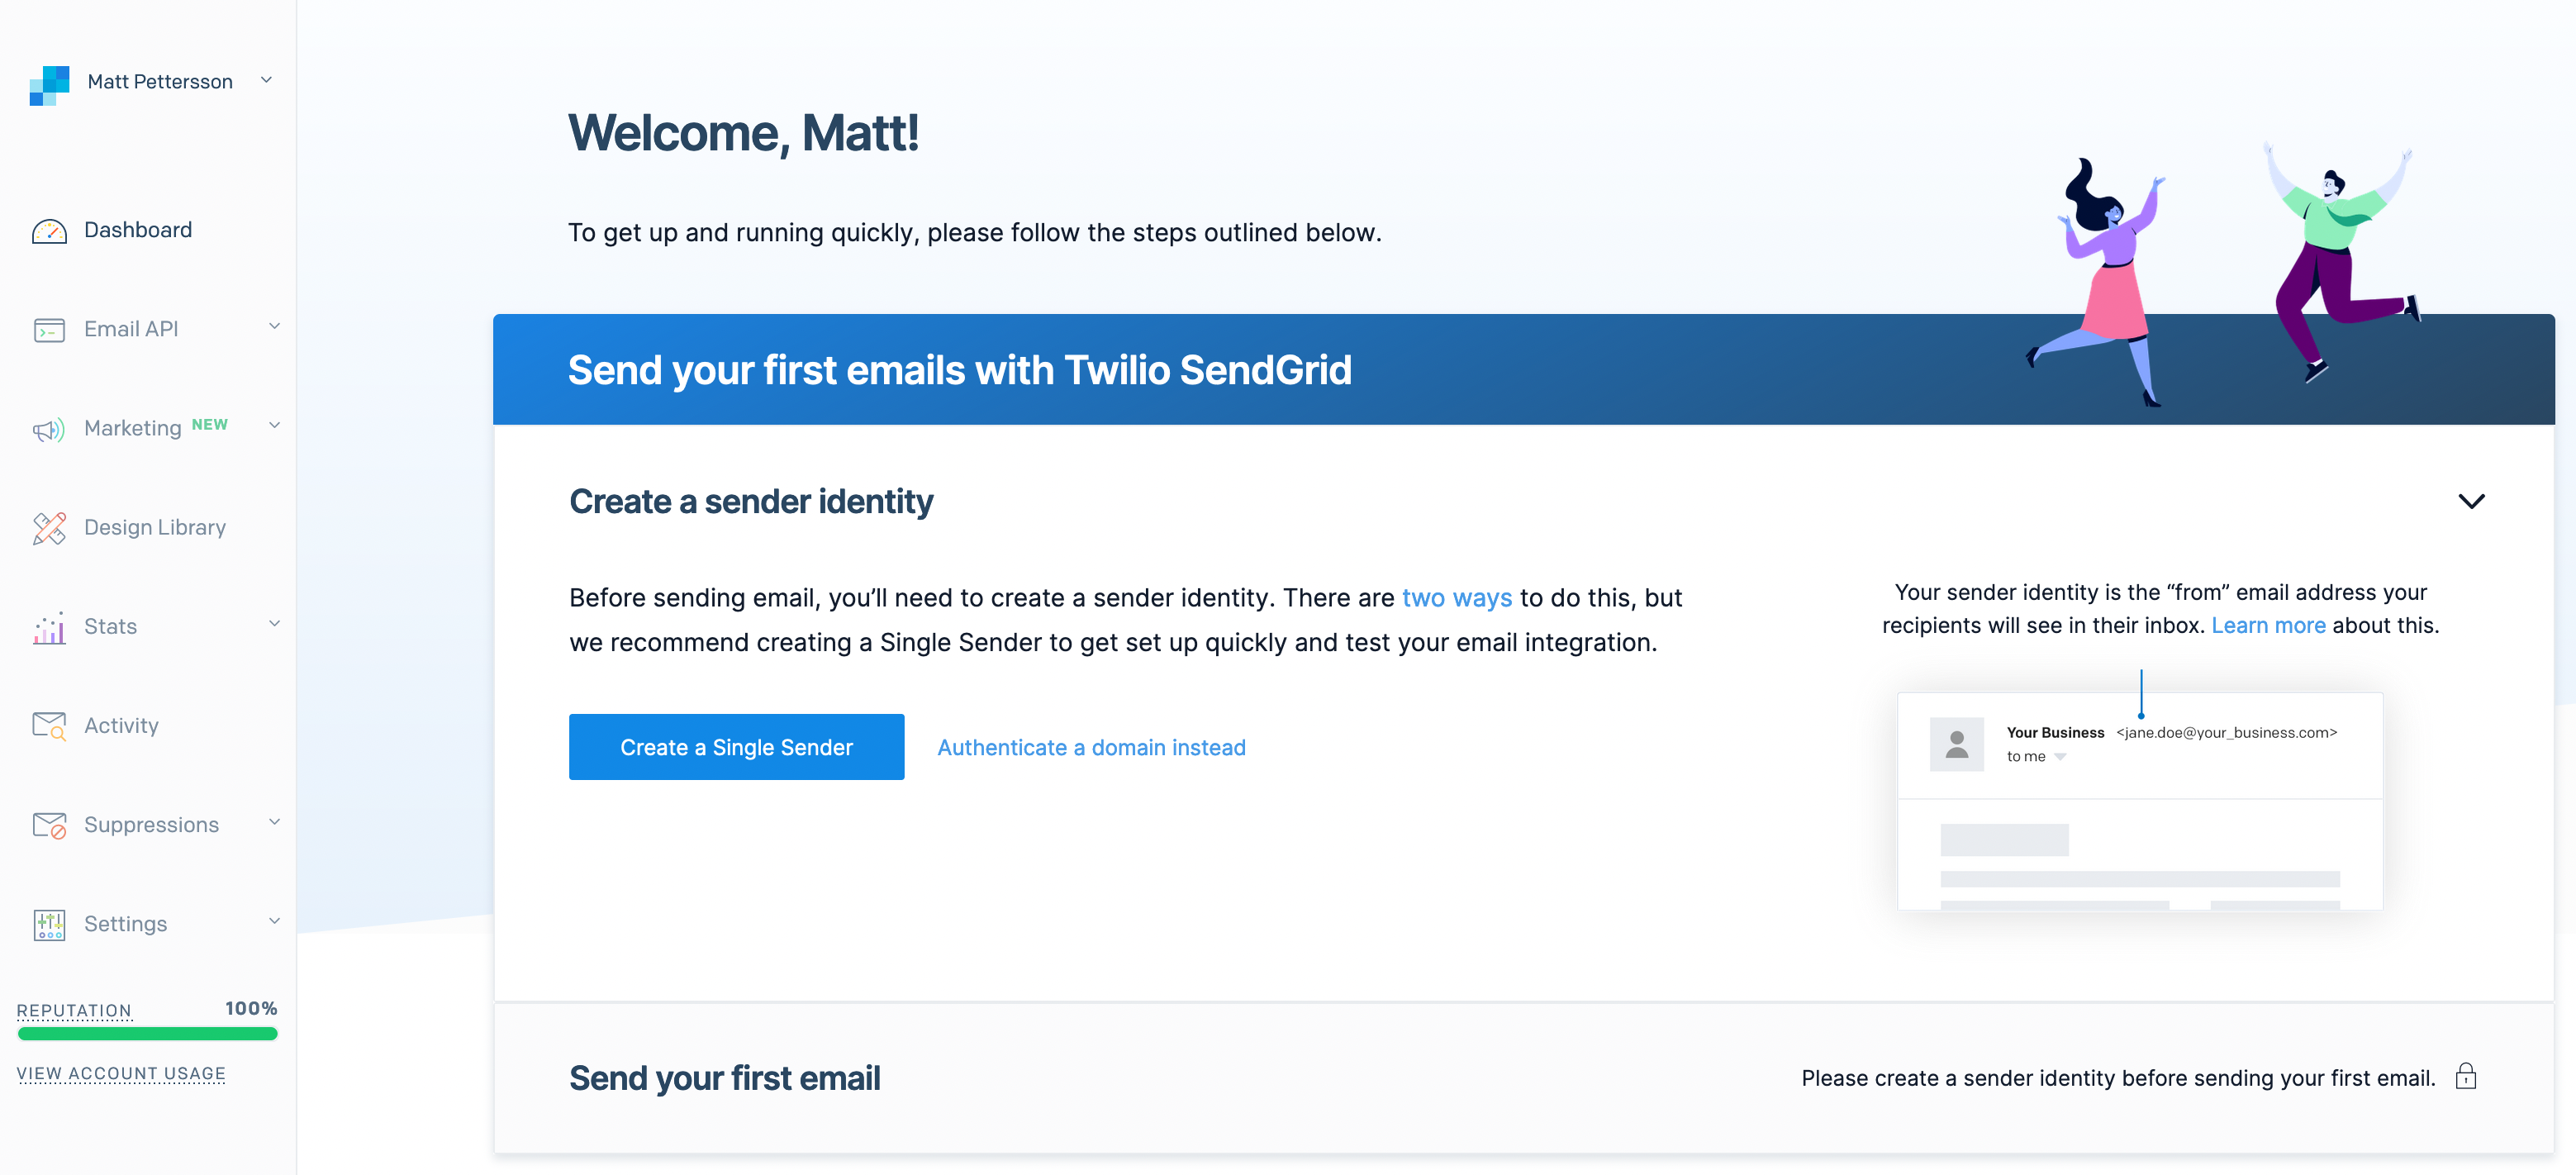
In addition to being easy to use, SendGrid is free (no credit card/account required) with 100 email a day, up to 2,000 contacts, and 6,000 marketing emails a month.
Mail can be sent via SMTP, UI, API; and the API is available in 7 languages (C#, Go, Java, Node JS, PHP, Python, and Ruby)
Step 2: If the Authenticate a domain instead option is available click it, otherwise; (on the sidebar) navigate to Settings > Sender Authentication. Then click the Get Started button in the Domain Authentication row.
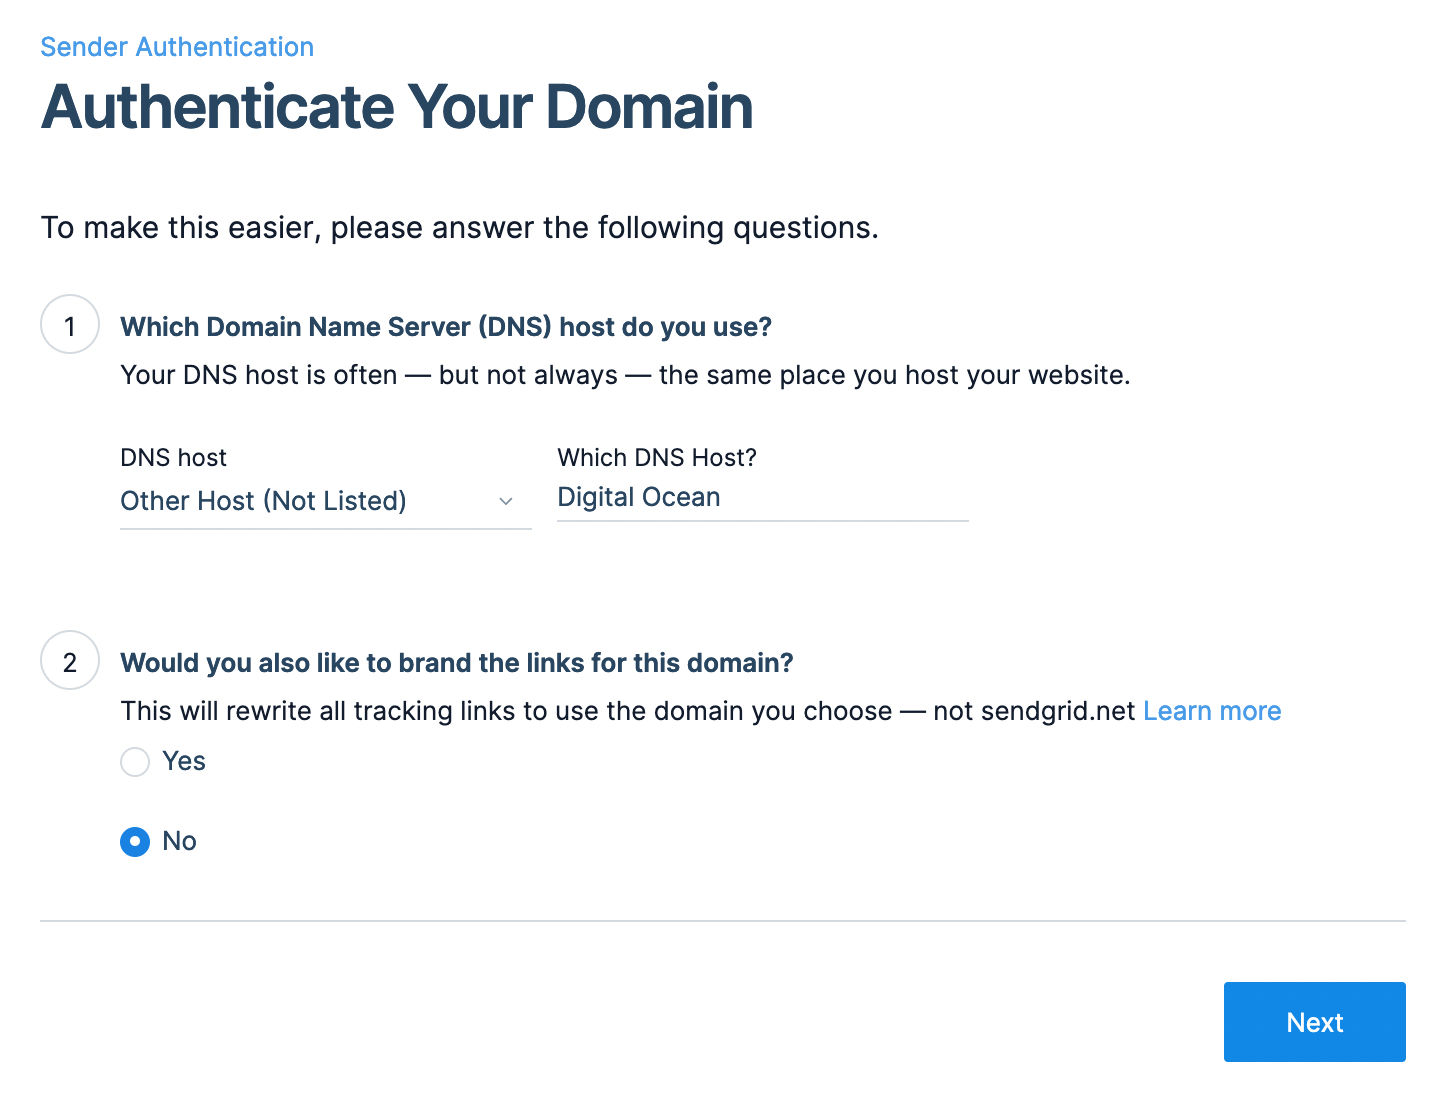
Step 3: Select or enter (if the option is not yet available) your DNS host and select Yes under the Would you also like to brand the links for this domain? radial button, then click the Next button. NOTE: "Email link branding allows all of the click-tracked links and opens tracked images in your emails to be from your domain instead of from sendgrid.net." See the How to set up link branding page for more info.
Step 4: Enter your domain in the Domain You Send From text box and press the Next button.
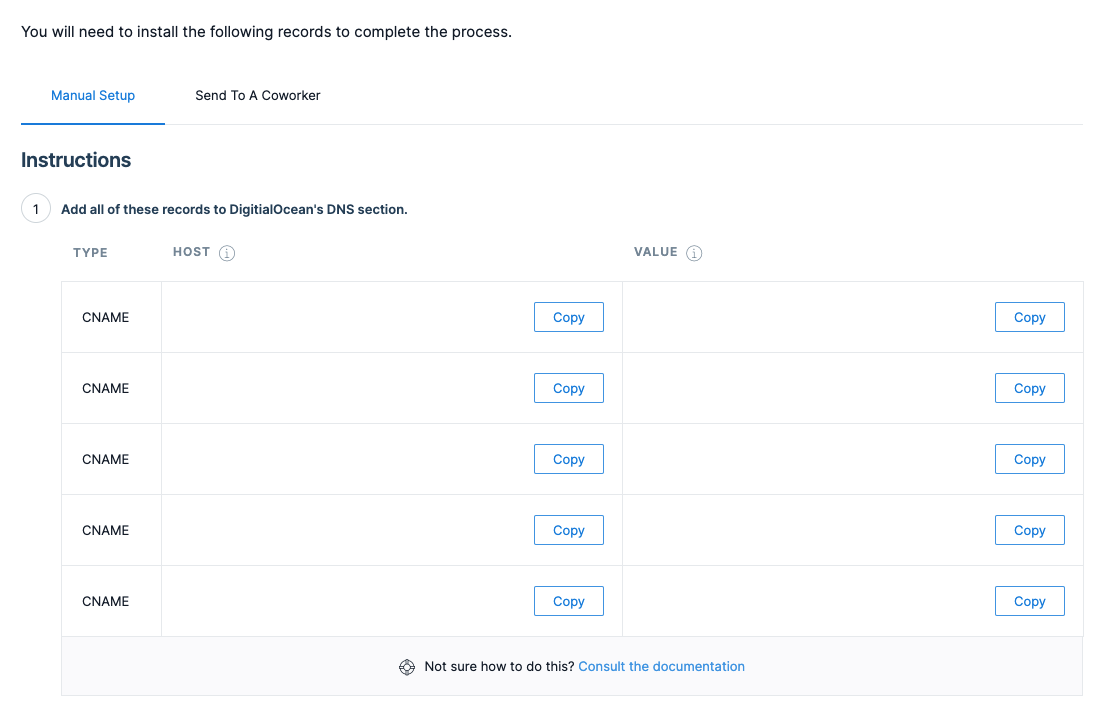
Step 5: Log In to your DNS host and install, or add, each DNS record shown in the Add all of these records to <your_dns_host>'s DNS section.
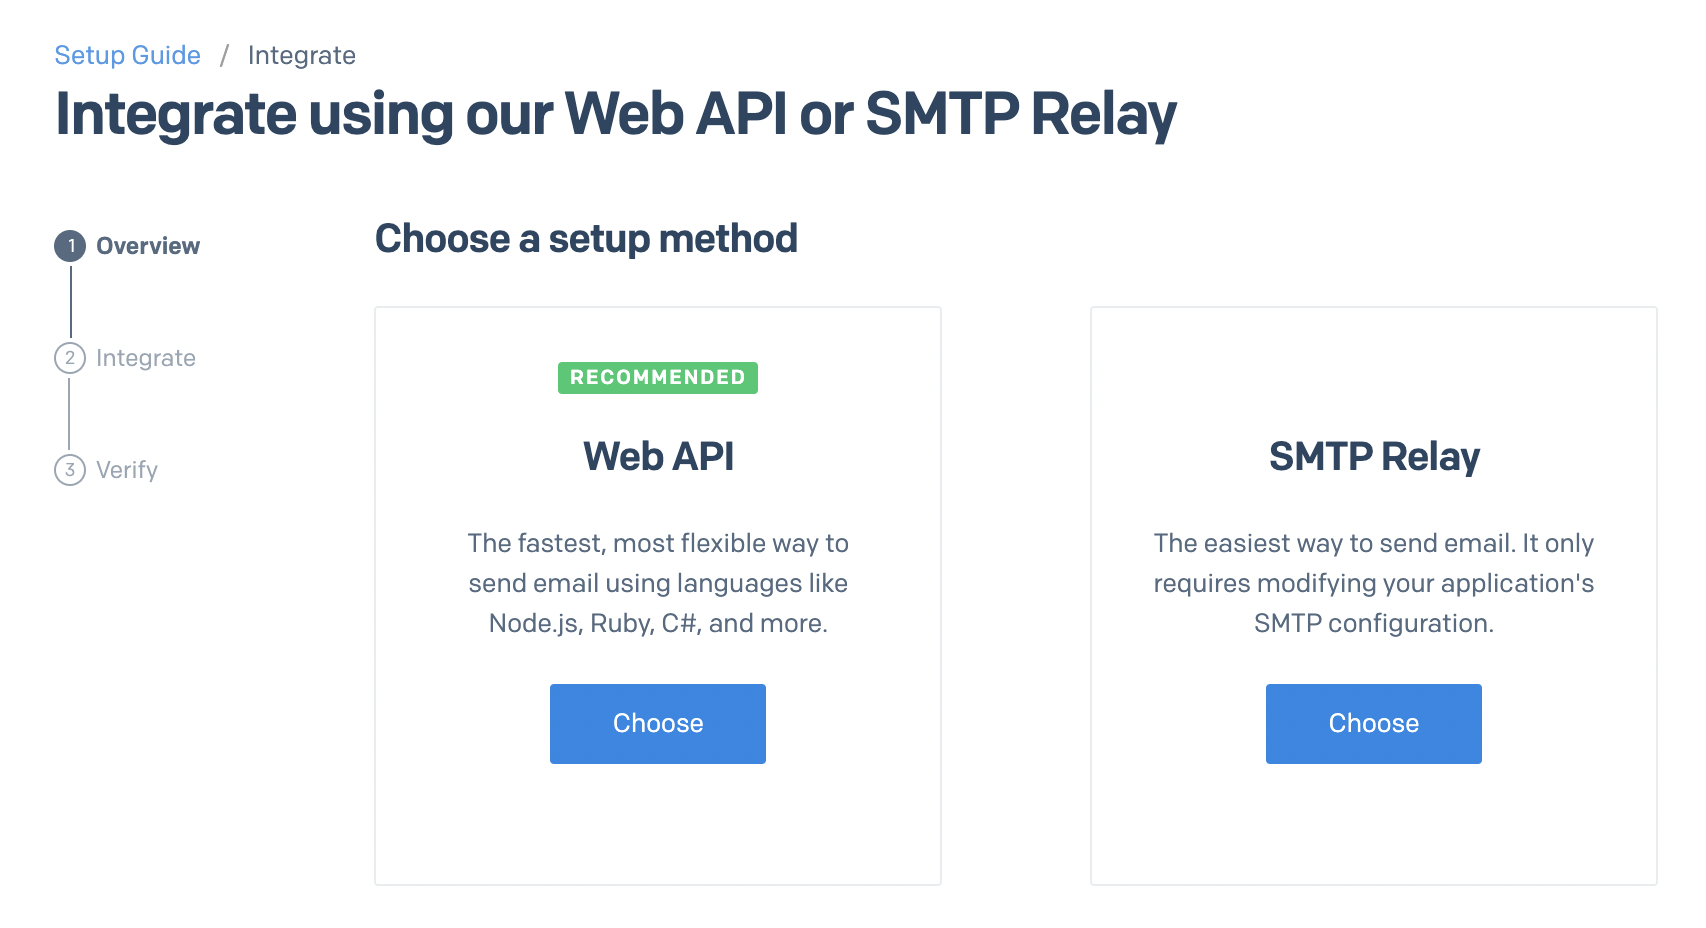
Step 6: After your domain is authenticated, (on the sidebar) navigate to Email API > Integration Guide. You can now use one of the (7) Web APIs or SMTP Relay via their respective Choose buttons.
NOTE: We will choose the SMTP Relay option in this tutorial (a few supplementary screenshots for the Web API option will be in the Web API section below).
Click on the Choose button below SMTP Relay.
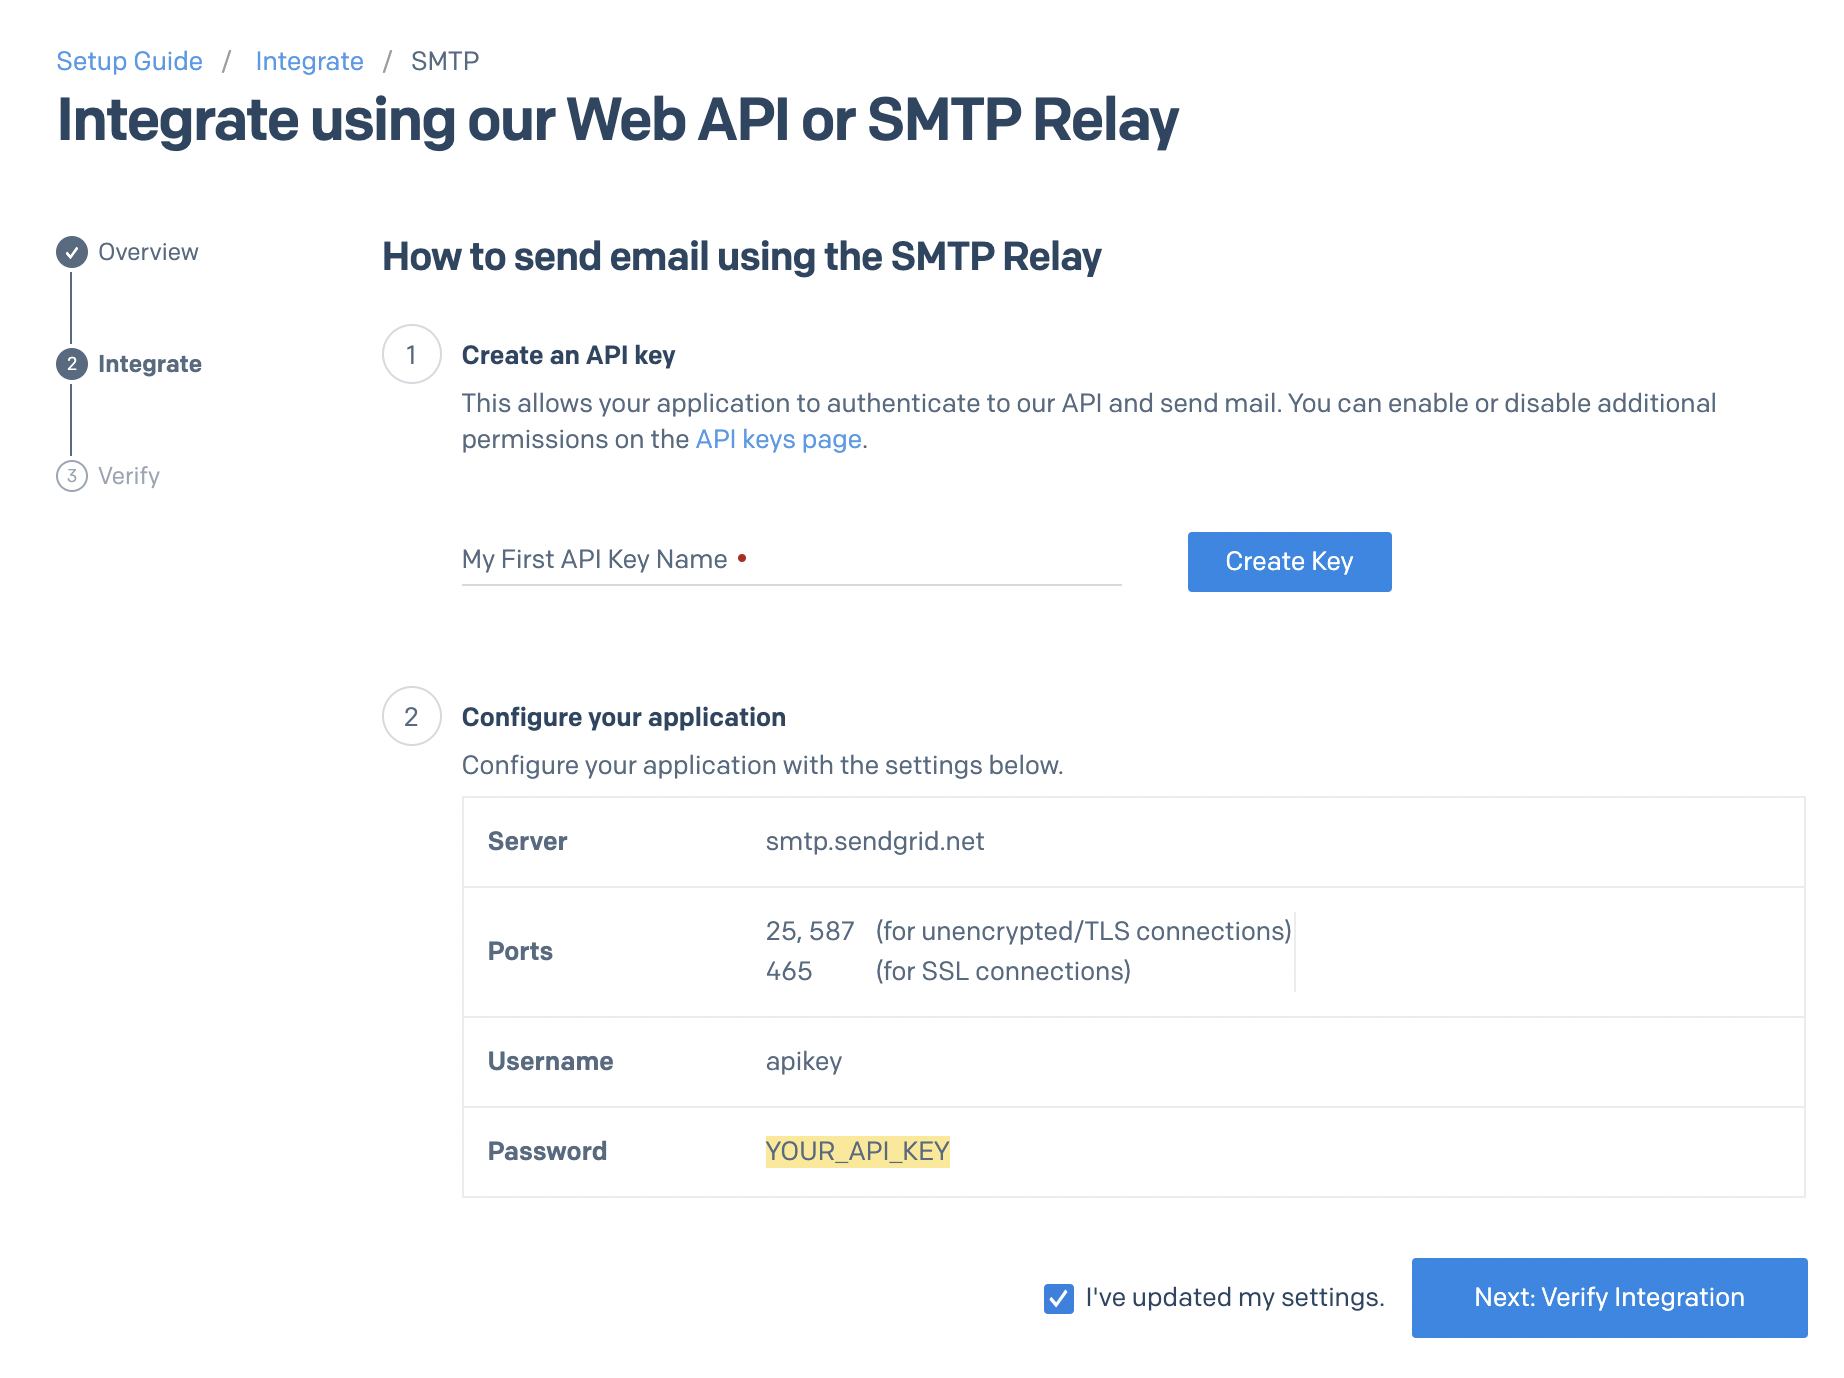
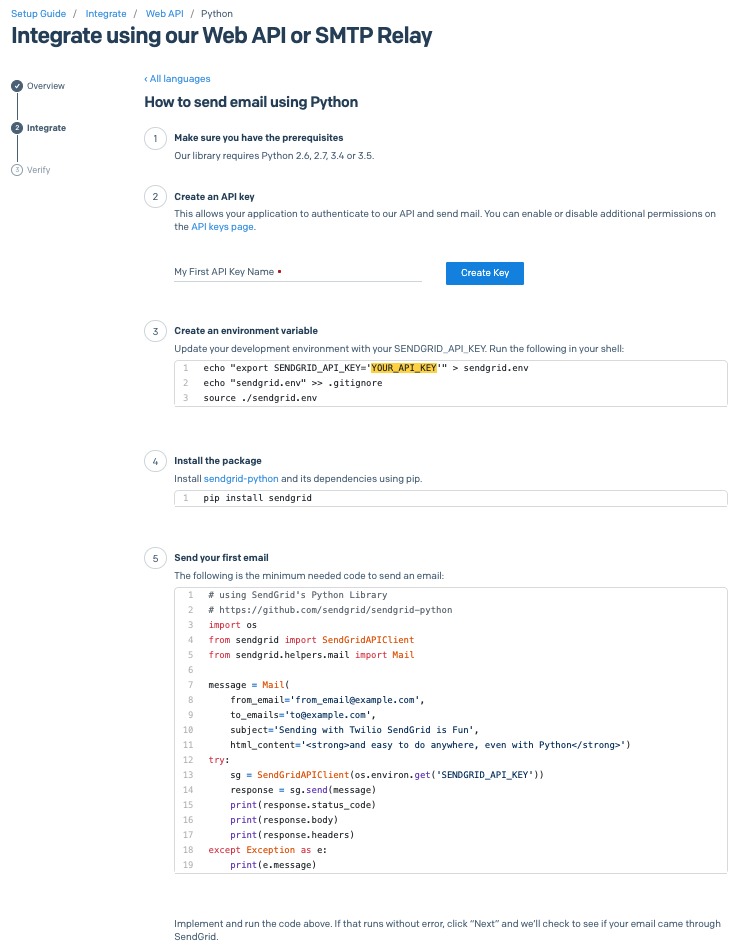
7th Step: Enter a Key Name in the My First API Key Name text box and click on the Create Key button. Enter the generated key in your Python settings file.
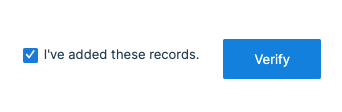
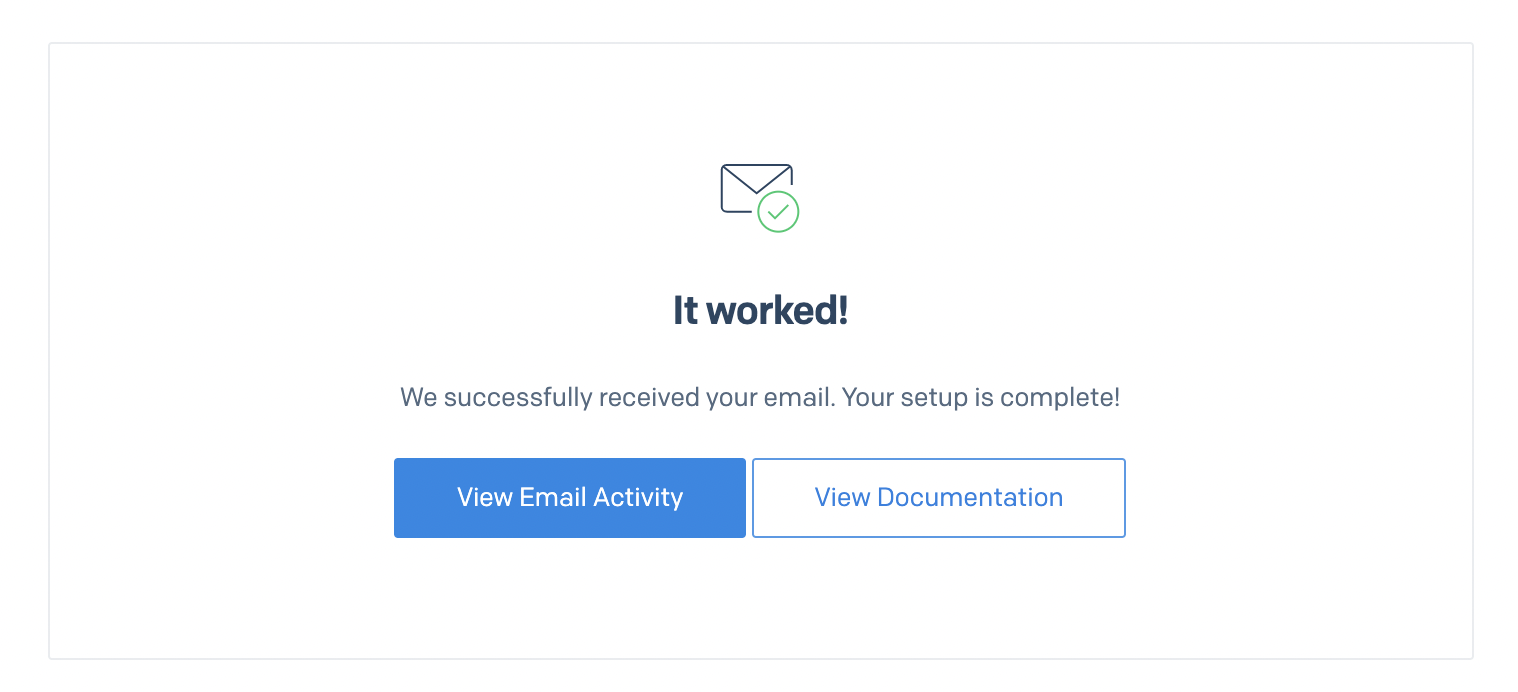
If successful configured, <to_you>@<your_email_here> will receive an email from from@<your_domain_here>. Click the Verify Integration Button so SendGrid can confirm and provide you with additional links.
Congratulations, You're Done!
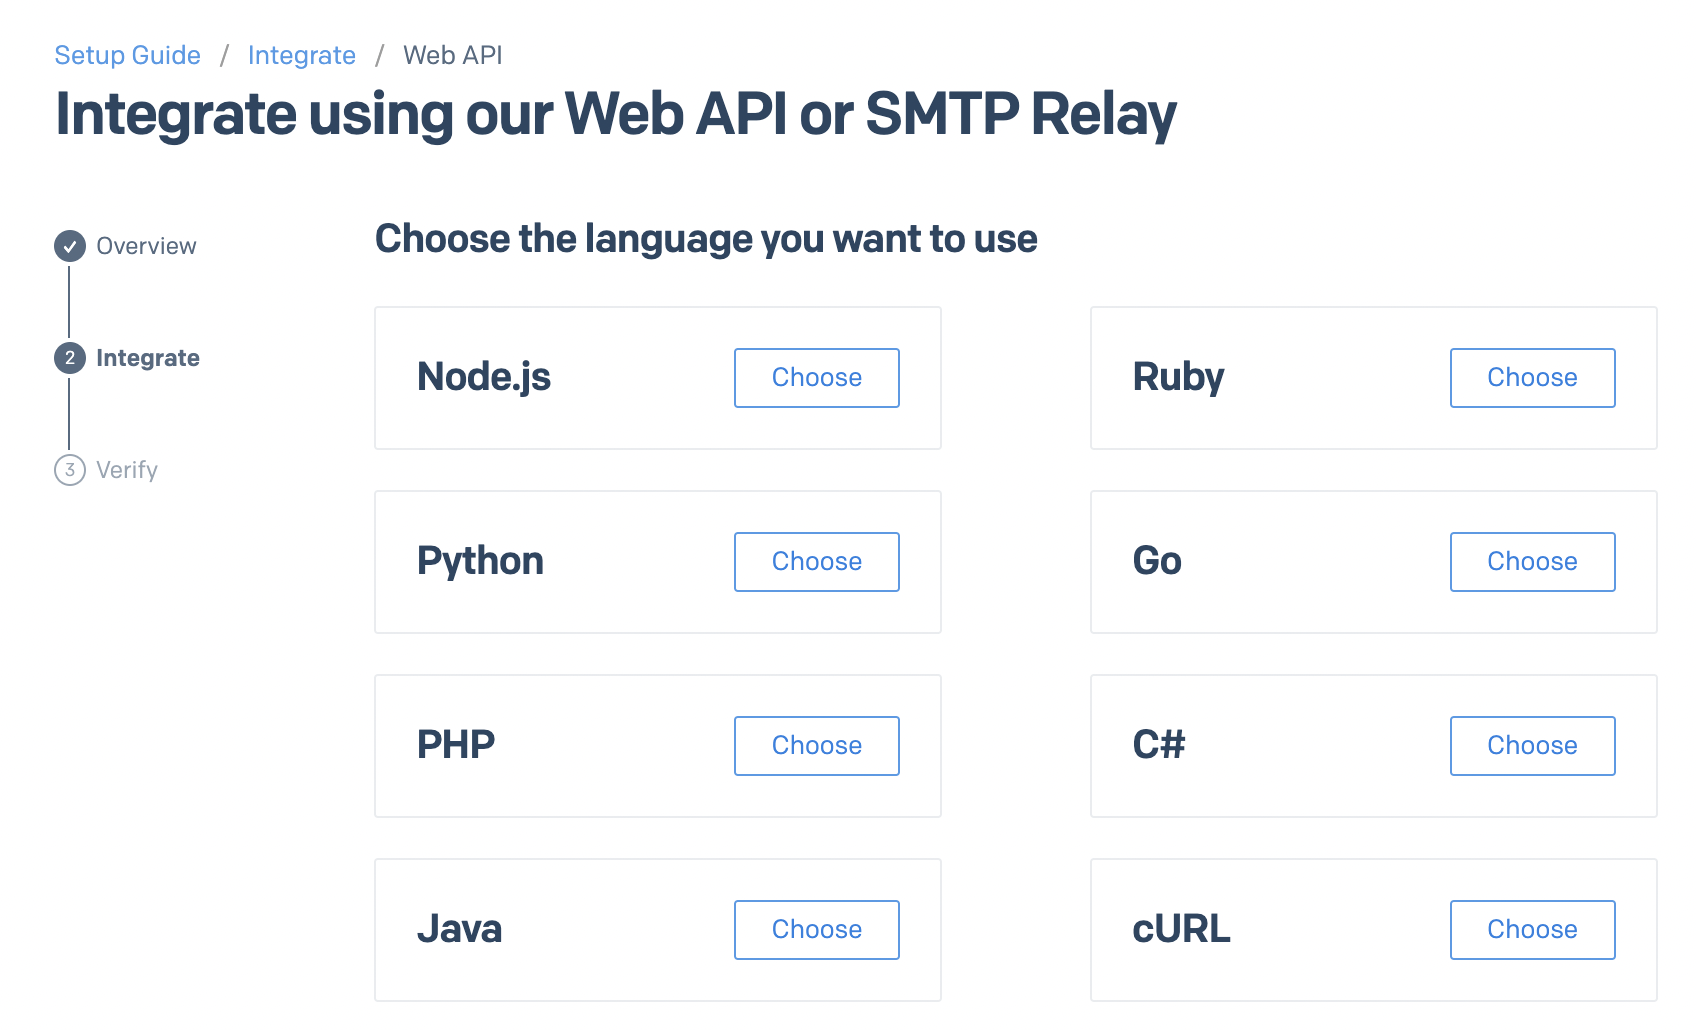
(Alternatively) Web API Option:
The web api option is essentially the same; pick a language, generate a key, add the key to your configuration/environment, and then test.
Pick a language, any language:
Then follow the remaining instructions for your chosen language: